Le Time Lapse is a fascinating and captivating photography technique that allows you to create unique and impressive videos. By using this method, you can give the viewer a feeling of time acceleration while highlighting certain elements or movements in the scene. In this article, we will explore the different steps to successfully create your Time Lapse videos.
Choosing the camera and manual mode for a successful time lapse
To create a Time Lapse, you first need to choose a camera suitable for this type of photography. If you are a beginner, opt for a simple and easy-to-use camera. For those with more experience, a camera with advanced features may be necessary to achieve the best results.
Regardless of your level, it is essential to master the manual mode of your camera. Indeed, in this mode, you have full control over parameters such as exposure, ISO sensitivity, shutter speed, and aperture.
This will allow you to obtain perfectly exposed and consistent photos throughout your Time Lapse.
As a reminder:
- Exposure is the amount of light that reaches your camera's sensor, which determines how light or dark your photo will be. This exposure is influenced by three factors: ISO sensitivity, shutter speed, and aperture.
- ISO sensitivity is the ability of your camera's sensor to capture light.
- Shutter speed is the duration for which this light is allowed to reach the sensor.
- Aperture is the size of the opening in the camera's lens through which light enters.
By carefully adjusting these four parameters, you can achieve perfect exposure for each scene you want to photograph.
Read: How to use the exposure triangle?
Planning and preparing the shot
Once you have mastered your camera, it is time to plan and prepare your shot.
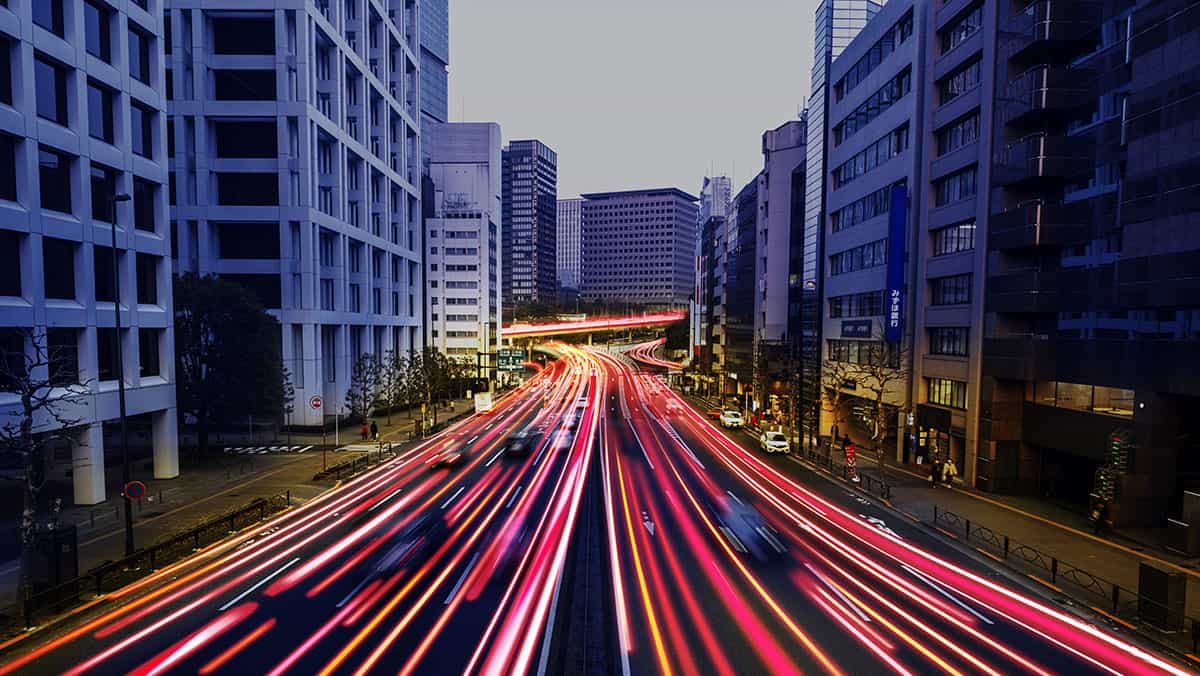
To do this, start by choosing the subject of your Time Lapse. Think of elements that evolve slowly or quickly over time, such as clouds, traffic, or the growth of a plant.
Then, locate the best location to set up your camera. Take into account the angle of view, distance, and height relative to your subject.
Don't hesitate to do several tests to find the ideal framing.

Tripod and accessories
It is important to stabilize your camera during the creation of a Time Lapse.
Use a sturdy and stable tripod to avoid any vibration (due to wind, for example) or unwanted movement.
Additionally, consider equipping yourself with a remote interval timer (also called intervalometer) that will take photos automatically at regular intervals.
Camera settings and parameters for the time lapse
To succeed in your Time Lapse, it is crucial to properly set your camera's parameters.
Here are some tips to help you.
Exposure and ISO sensitivity
Adjust the exposure based on the brightness of the scene and choose an appropriate shutter speed to obtain a sharp image.
In general, it is recommended to use a low ISO sensitivity to minimize digital noise in your photos.
Intervals and number of photos
Determine the interval between each photo based on the subject and the desired duration of your Time Lapse. For example, for a sunset, you can choose an interval of 10 to 20 seconds.
Also consider the total number of photos needed to achieve a video of sufficient duration.
If you want 25 frames per second of video, and you want to create a time lapse of a sunset lasting 10 seconds, you will need 250 photos. At one photo every 20 seconds, that represents 1h23 of shooting.
Focusing and depth of field
Make sure to focus precisely on your subject and choose an appropriate aperture to achieve a depth of field suitable for the scene.
Don't forget to disable the autofocus on your camera to avoid any focus changes during the Time Lapse.
Assembling the photos and creating the time lapse video
Once all the photos are taken, it is time to assemble them to create your Time Lapse video.
Several software options are available for this, such as Adobe Premiere Pro, Final Cut Pro, or even free applications like Time-Lapse Tool. It is also possible to assemble a timelapse using Photoshop.
Import your photos into the software, set the duration of each image (generally between 24 and 30 frames per second), and adjust the rendering parameters according to your preferences.
You can also add effects, such as zoom or panning, to further energize your Time Lapse.
Processing and retouching
To achieve a professional result, it may be necessary to retouch your photos before assembling them. Use image processing software like Adobe Lightroom or Photoshop to adjust exposure, contrast, saturation, and other parameters to achieve perfectly balanced images.
If your video is intended for the internet, you will need to properly export your video for YouTube or Vimeo.
By following these simple steps, you will be able to create stunning Time Lapse videos that will surely captivate your audience. So don’t hesitate to experiment, learn, and above all, have fun!
